- Rich's Newsletter
- Posts
- Ghostty: A New Terminal App from Mitchell Hashimoto
Ghostty: A New Terminal App from Mitchell Hashimoto
Rich Burroughs
December 28, 2024

The cute animation from the Ghostty site
If you’re in tech circles online, you’ve likely seen a lot of people talking about Ghostty in the last few days. It’s a terminal emulation app from Mitchell Hashimoto, one of the founders of HashiCorp. I’ve used Mitchell’s tools since the Vagrant days before HashiCorp existed, and I’ve always thought he had a knack for designing tools that solved problems in a very clever way.
I was very interested when I heard he was building a terminal app. I’m a Mac user, and I’ve used iTerm2 (and iTerm before it) for many years. It’s a big improvement over the macOS Terminal, but I’ve felt it’s gotten a bit slow and stale over time.
I tried Ghostty and am very impressed with it. It’s already become my terminal app of choice. In this post, I will highlight a few of the features that stand out to me, but there’s a lot I won’t be able to cover. Check out the Ghostty site for more information.
Performance
My biggest complaint about iTerm2 is that it sometimes gets laggy, which was the main reason I wanted to look at Ghostty.
One of the benefits of Ghostty that Mitchell mentions in his overview of the app is that it’s a native app for macOS and Linux. It’s also designed to be very fast. As Mitchell mentions in that overview, “fast” is a loaded term. I’m not enough of a performance nerd to benchmark it, but I can say that it feels very fast to me. Mitchell says he believes it’s among the fastest terminal emulators.
Mitchell also mentioned in his overview that he wants to do some benchmarks, and I’m sure some Ghostty users will also be doing that.
Config
The configuration system is another aspect of Ghostty that really appeals to me. Mitchell intended it to be a zero config app, meaning it has sensible defaults and should work for people out of the box. That was the case for me, but it might not be for everyone, especially in these early days.
If you want to override some of the config options, the config uses a simple key/value syntax. For example, to override the font size setting in your config file, you’d specify:
font-size = 14That’s it, key = value.
There are a lot of config formats around nowadays, but I think it’s very smart to handle it this way. A terminal emulator will be used by people with very different levels of experience, and I think it makes sense to keep things low friction like this.
To edit the config on macOS, use this keyboard shortcut in Ghostty:
cmd+,(This means pressing the command key and comma key.)
If you’ve not edited the file before, it will be blank.
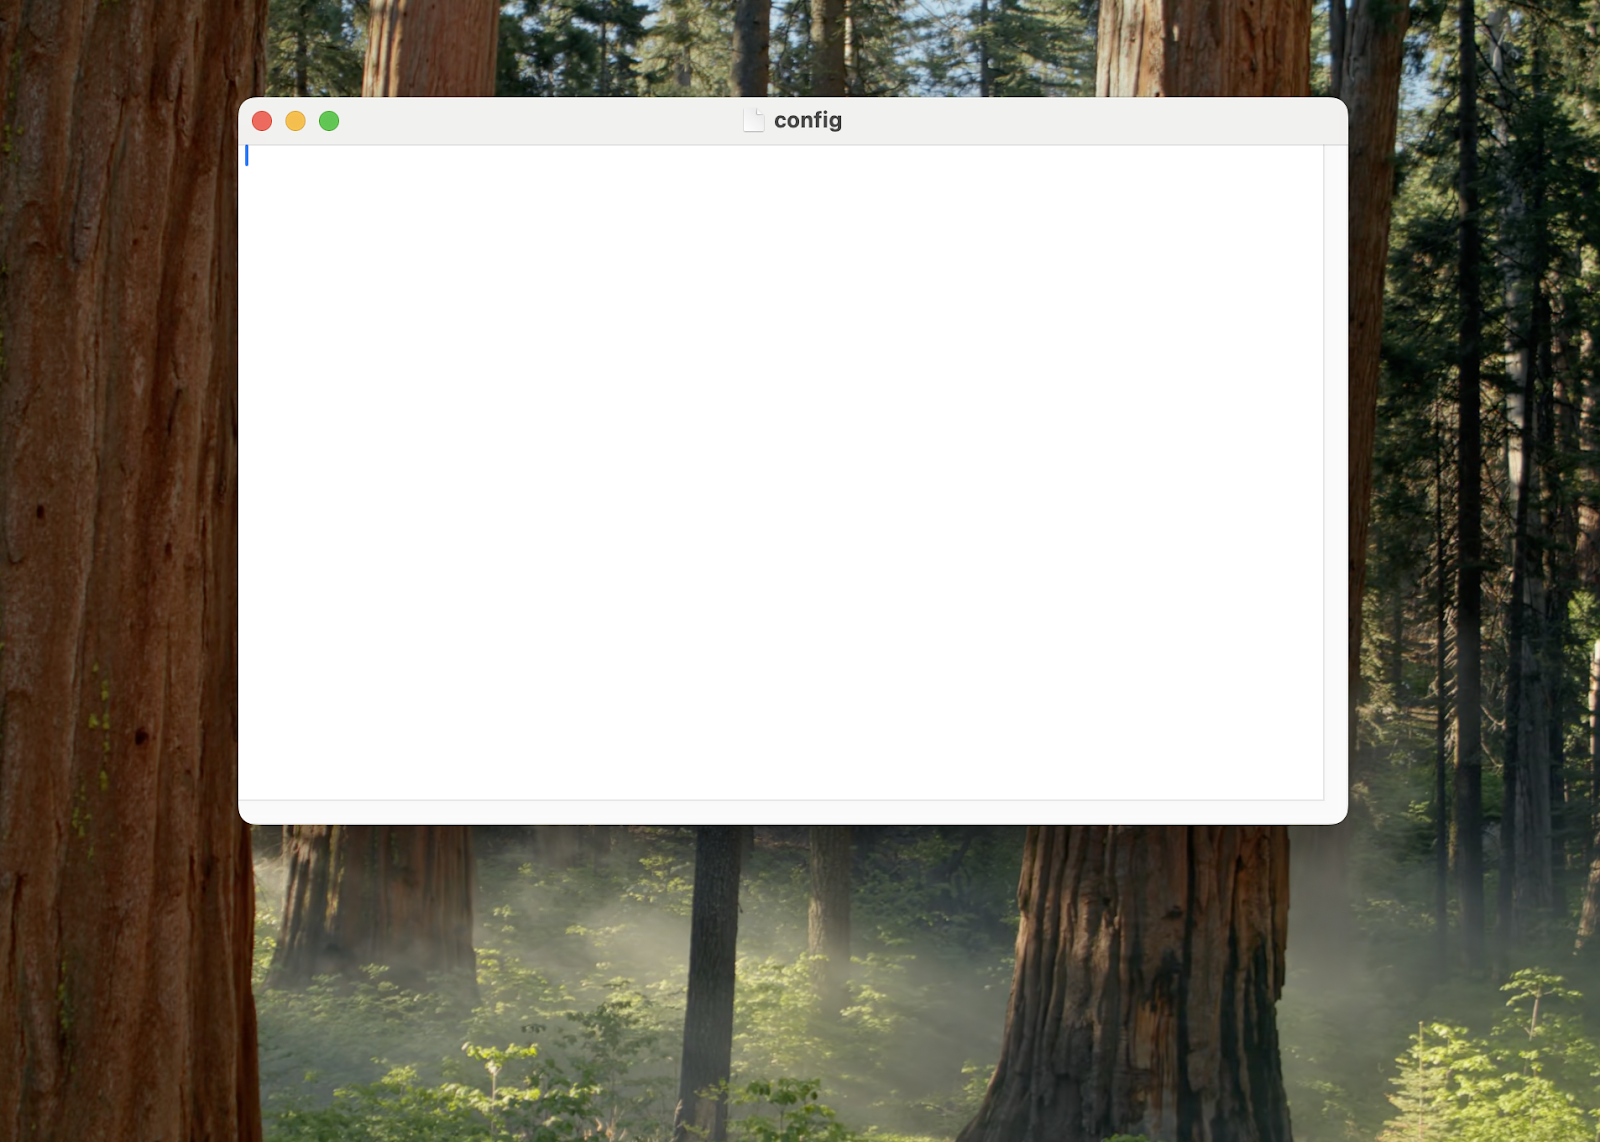
A new Ghostty config file
Make the changes you’d like in the file and then save. You can reload the config with:
cmd+shift+,Or close the terminal window and open a new one.
(ctrl+, and ctrl+shift+, are the shortcuts for Linux.)
To view the running config, run this command:
ghostty +show-configYou can read more about configuration in the docs.
Theme previews
Previewing themes is a super neat little feature that I love. Ghostty has a built-in browser for themes. You can launch it with this command:
ghostty +list-themesThat opens the theme preview window.
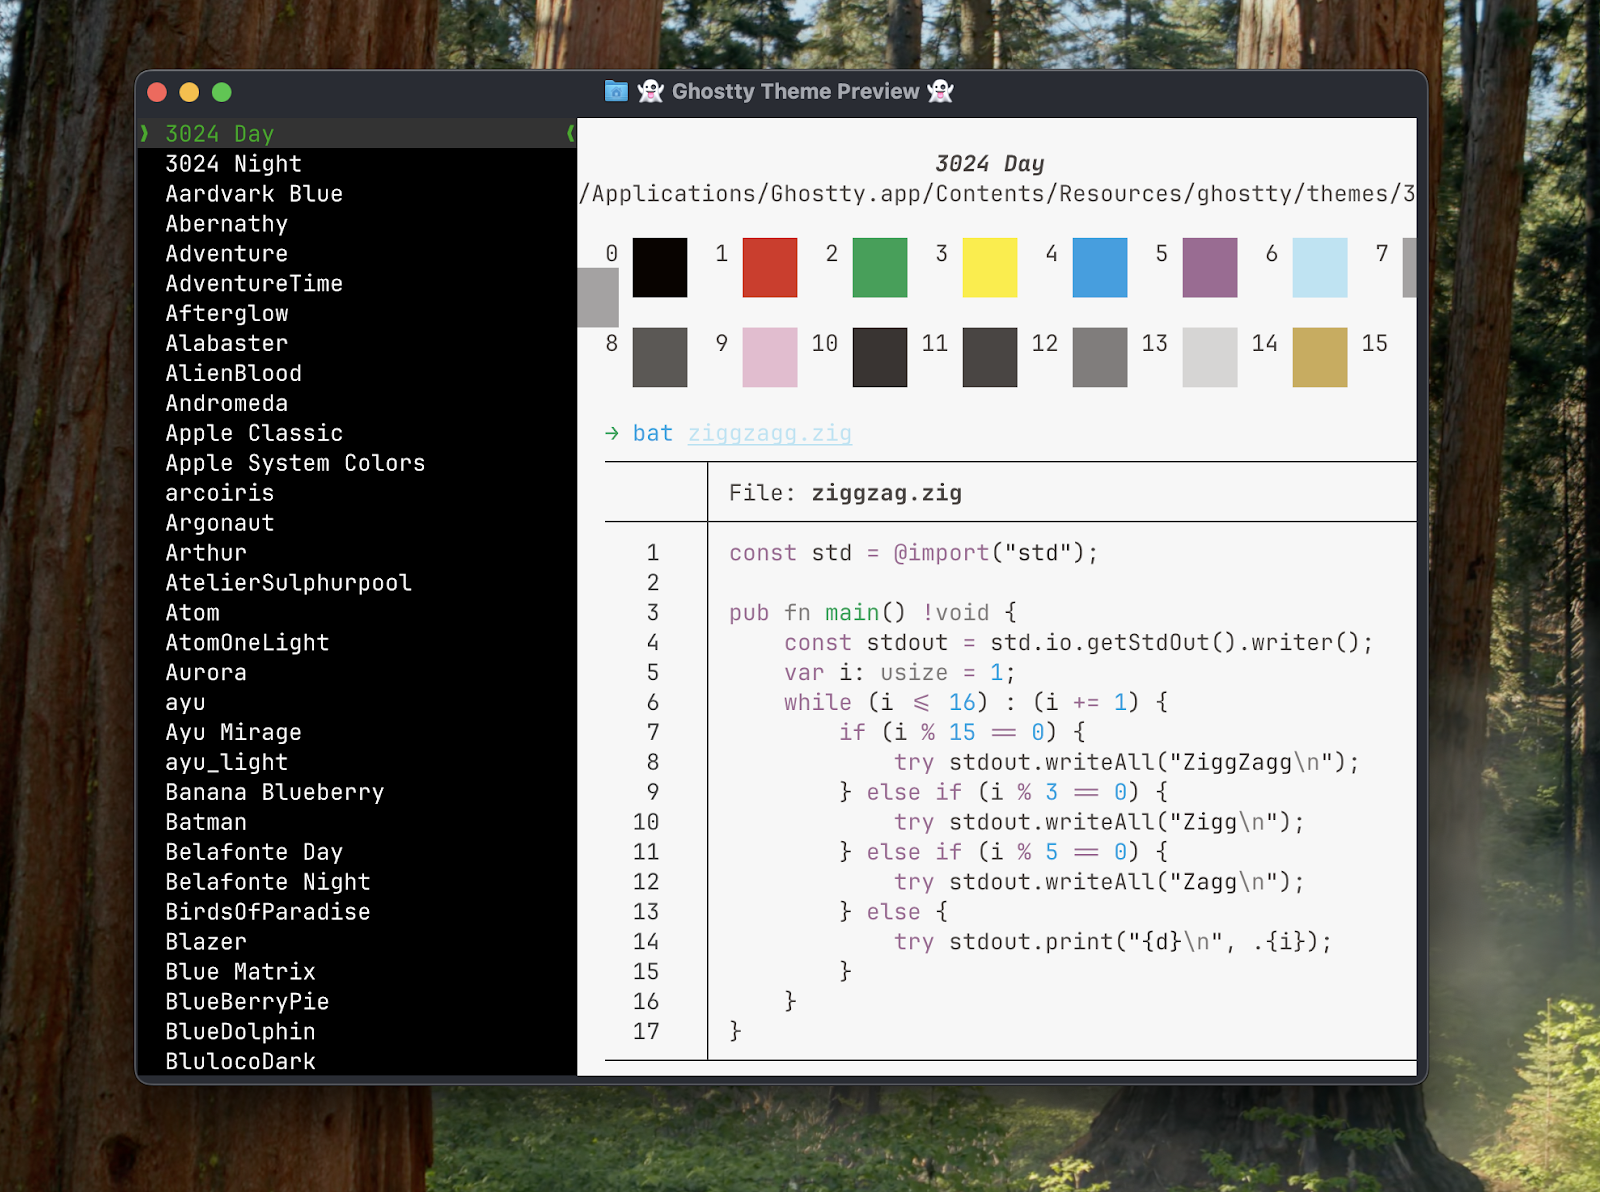
The theme preview window
This is such a useful and thoughtful feature. I’ve used other apps with theme preview websites, where you had to click in and view a different page for each theme. Ghostty’s theme preview window lets you view the many available themes quickly and easily.
As a bonus, I can swipe on my Magic Mouse to scroll through the different themes, making the previewing even easier. This is one of those features that’s possible because Mitchell uses the native libraries for each platform. I’m unsure if scrolling works this way on Linux, but I expect it does.
Conclusion
There are many other things to love about Ghostty—I’ve just scratched the surface here. For example, it bundles a nice monospaced font, JetBrains Mono, and it’s open source.
I do want to give a shout out to the iTerm2 developers. I’ve been critical of it in this post, but I also want to thank them for their work. I’ve used it extensively, and it still has some great features that haven’t been incorporated into Ghostty.
After the fun I had evaluating Ghostty, it will definitely be my terminal of choice going forward. If you’re curious, you should also try it out. You can find installation instructions in the docs.